

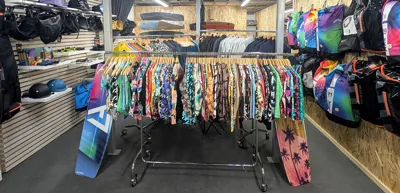

Buying used kitesurfing gear
How to check a kite, bar, board and harness before you hand over the money
Used gear is the fastest way onto the water for sensible money — and the easiest way to buy someone else's problem. The difference is half an hour of checking. Here is what we look at when someone brings us a used setup to assess.
Kite
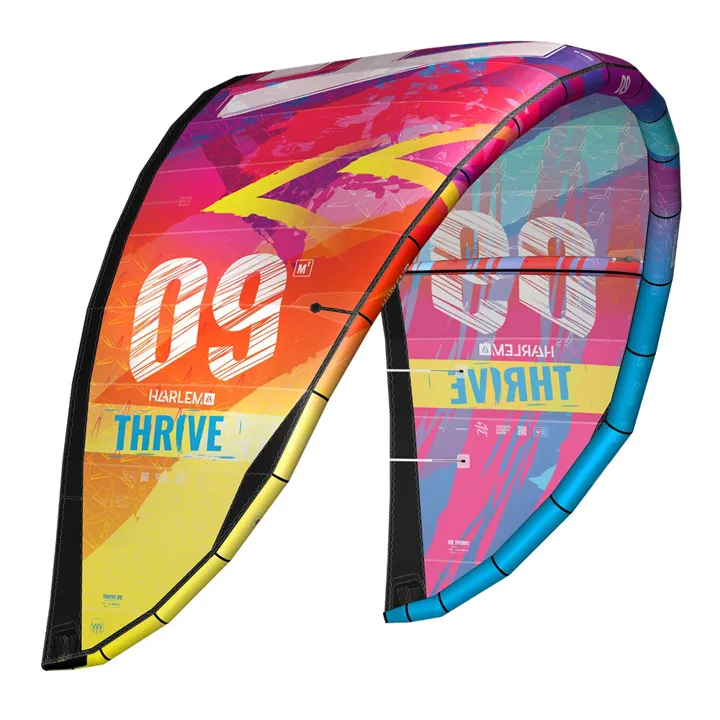
Hold the canopy up to the light: pinholes show immediately. Check the leading-edge seams, the strut ends and the valves. Then inflate the kite and leave it standing for at least 20 minutes — a slow leak reveals itself here. Ask about the year, the number of seasons and any repairs; a patched kite is not necessarily bad, but a hidden repair is a warning.
Bar and lines
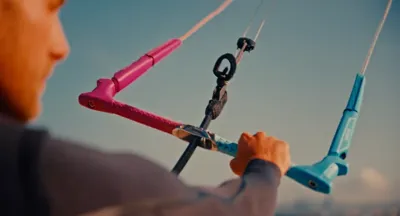
The most underrated part of the setup. Lines stretch unevenly, so over time the kite pulls to one side. Check the line ends, the depower travel and above all the quick release — it has to fire smoothly, without catching. A new line set is cheap, and after buying a used bar it is often the best money you will spend.
Board
Look along the rails — rock damage shows up exactly there. Tap the surface: a hollow sound means delamination. Check the insert threads for the pads; a stripped thread is fixable but it is work. Pads and straps are wear parts and can be replaced.
Harness and wetsuit
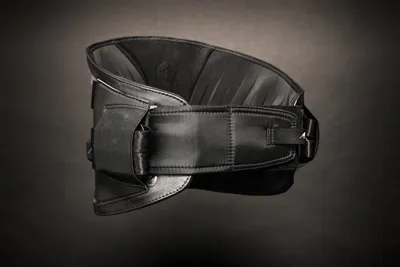
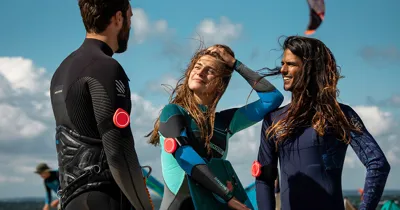
On a harness check the closure, the spreader bar and wear where the fabric bends. On a wetsuit check the zip, the seams under the arms and the stretch of the neoprene — a suit that has gone stiff no longer keeps you warm, however intact it looks.
Price
Value drops most in the first two seasons and then levels off. Compare against current used-gear listings and against the new price of the same model — if the gap is small, buying new with a warranty is almost always the better call.
Used gear listings
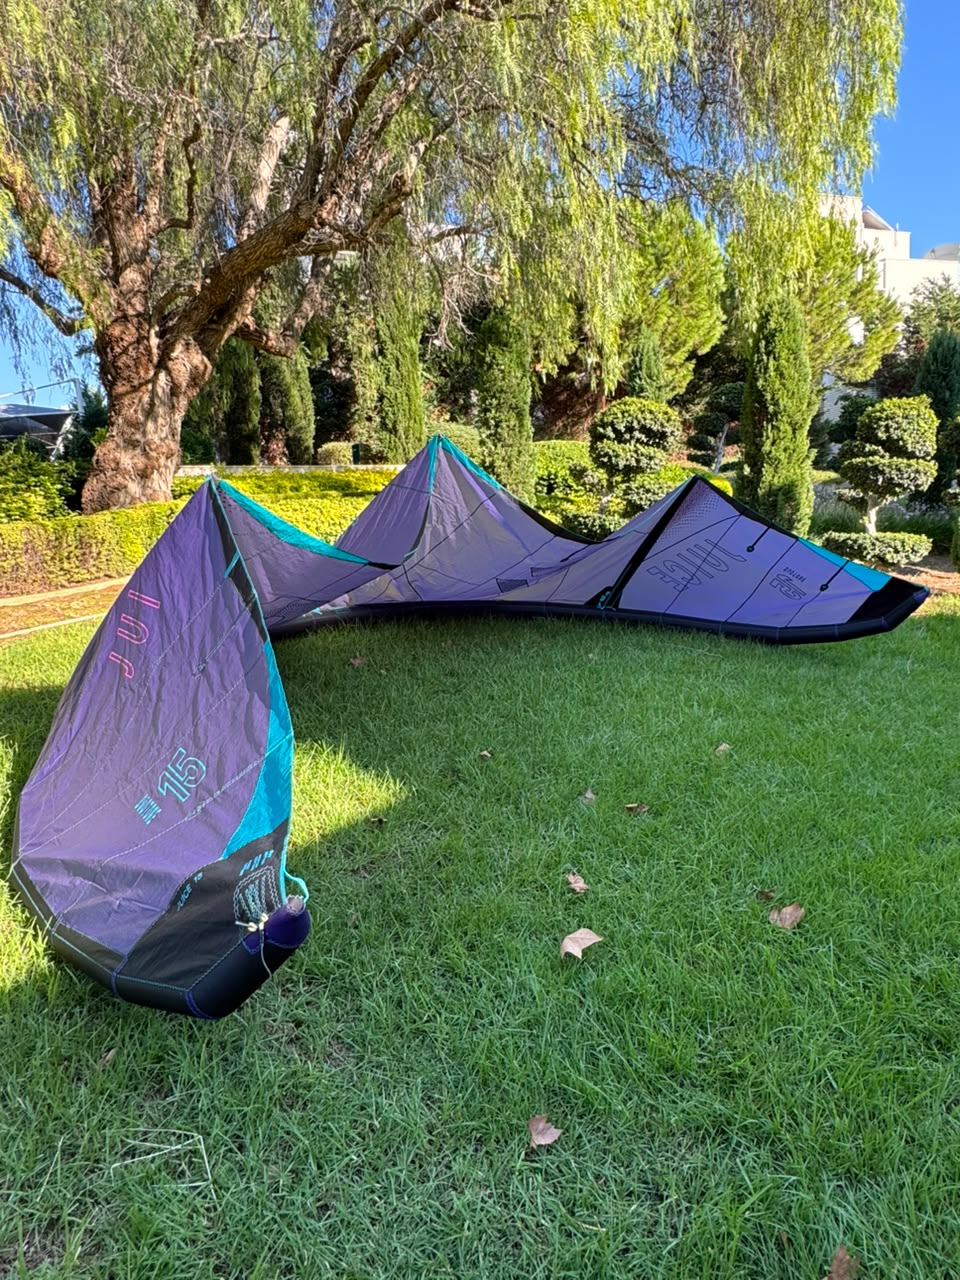
Duotone 2025 kite collection: Rebel D/LAB 10/12/13, Juice 15, Click Bar, Soleil SLS board
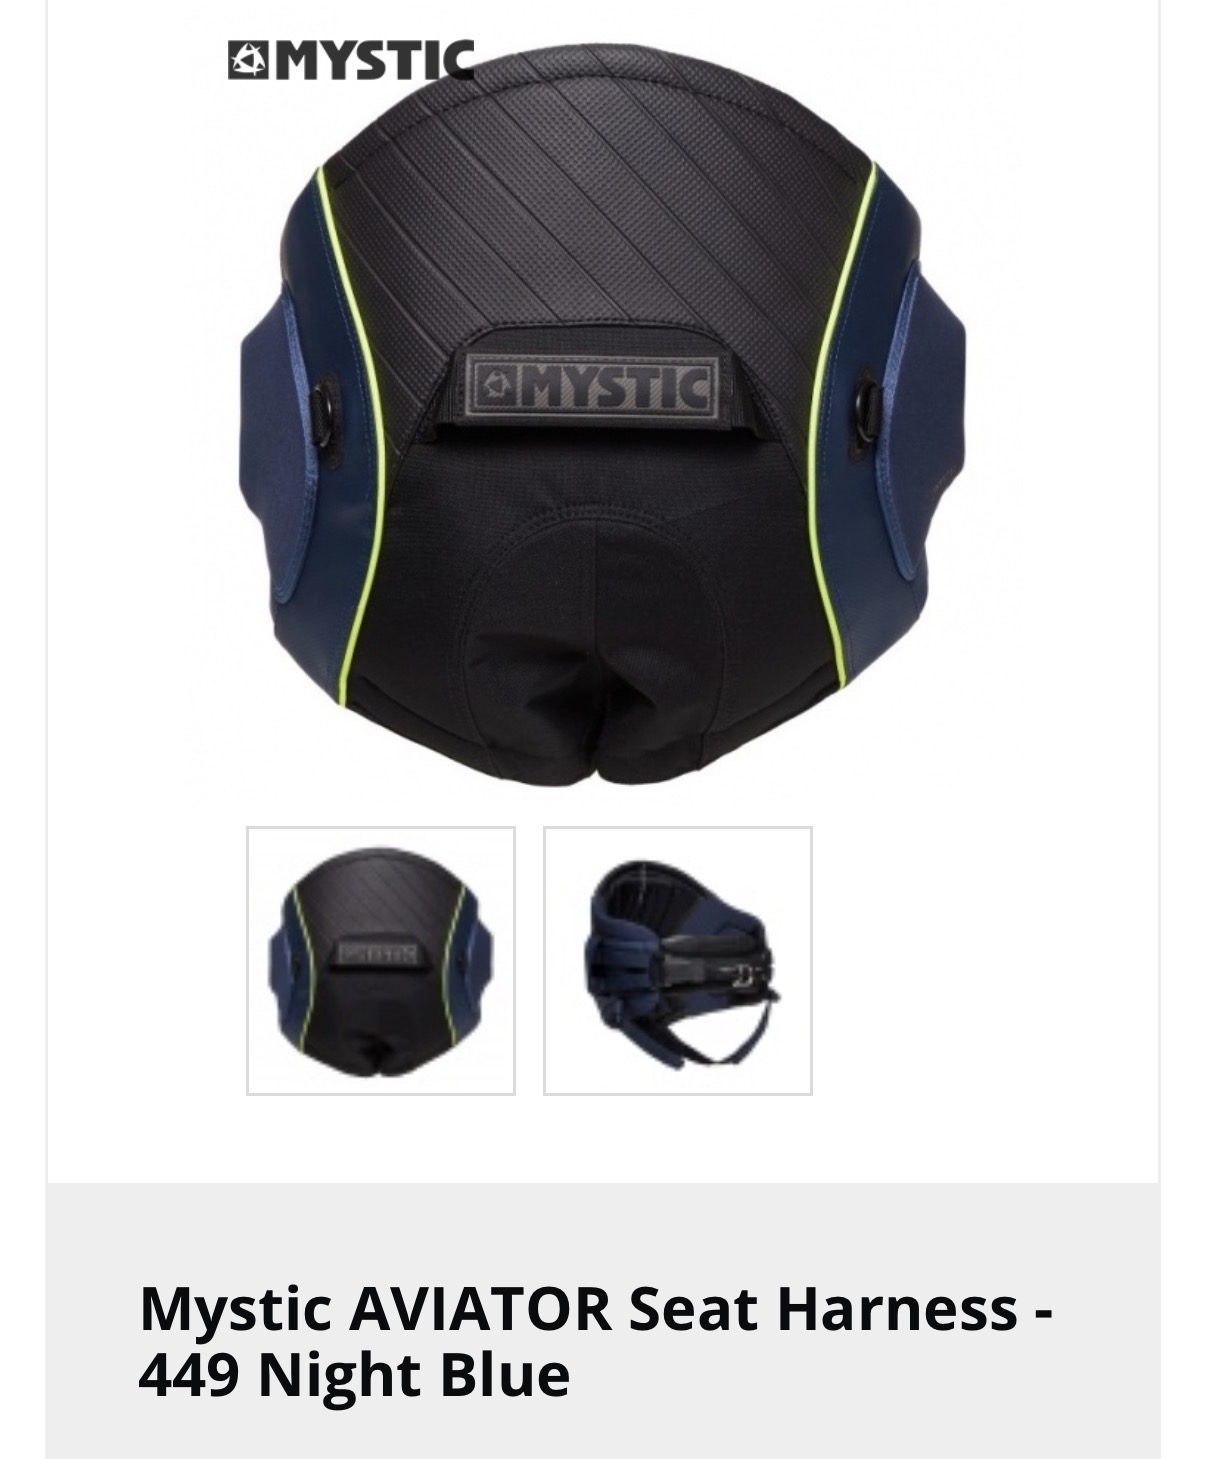
Mystic Aviator Seat Harness XL
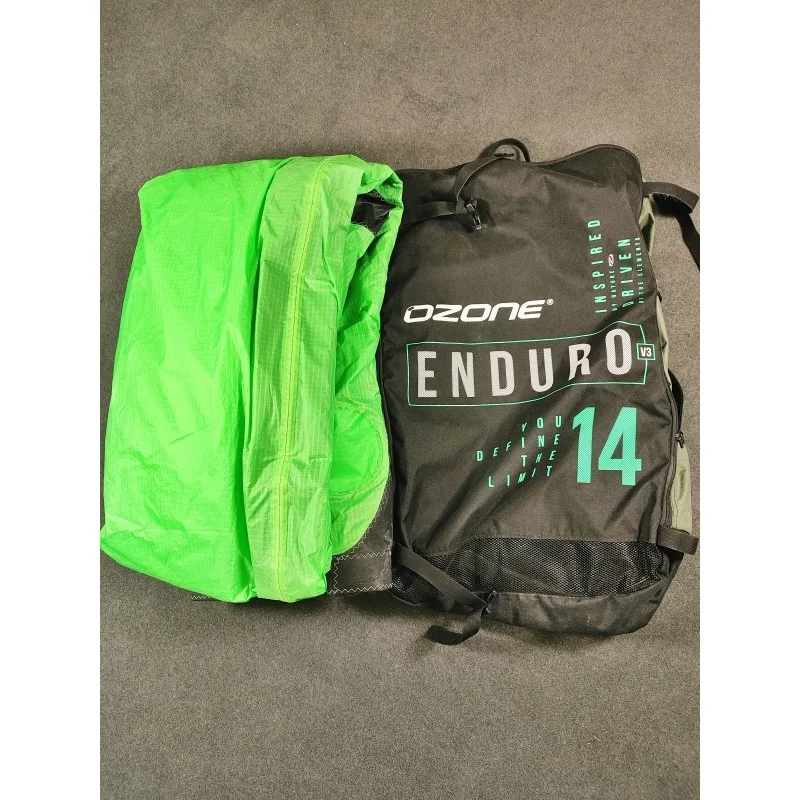
Kite Ozone Enduro V3 14m2 zelen
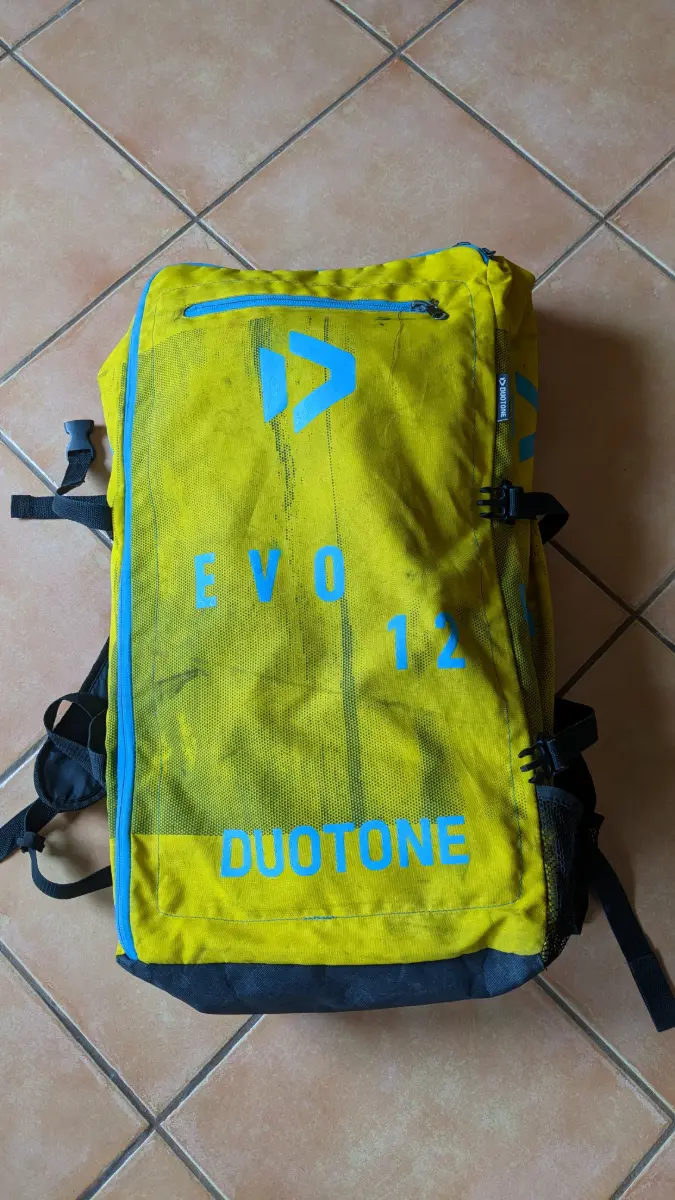
Duotone Evo 12m 2019
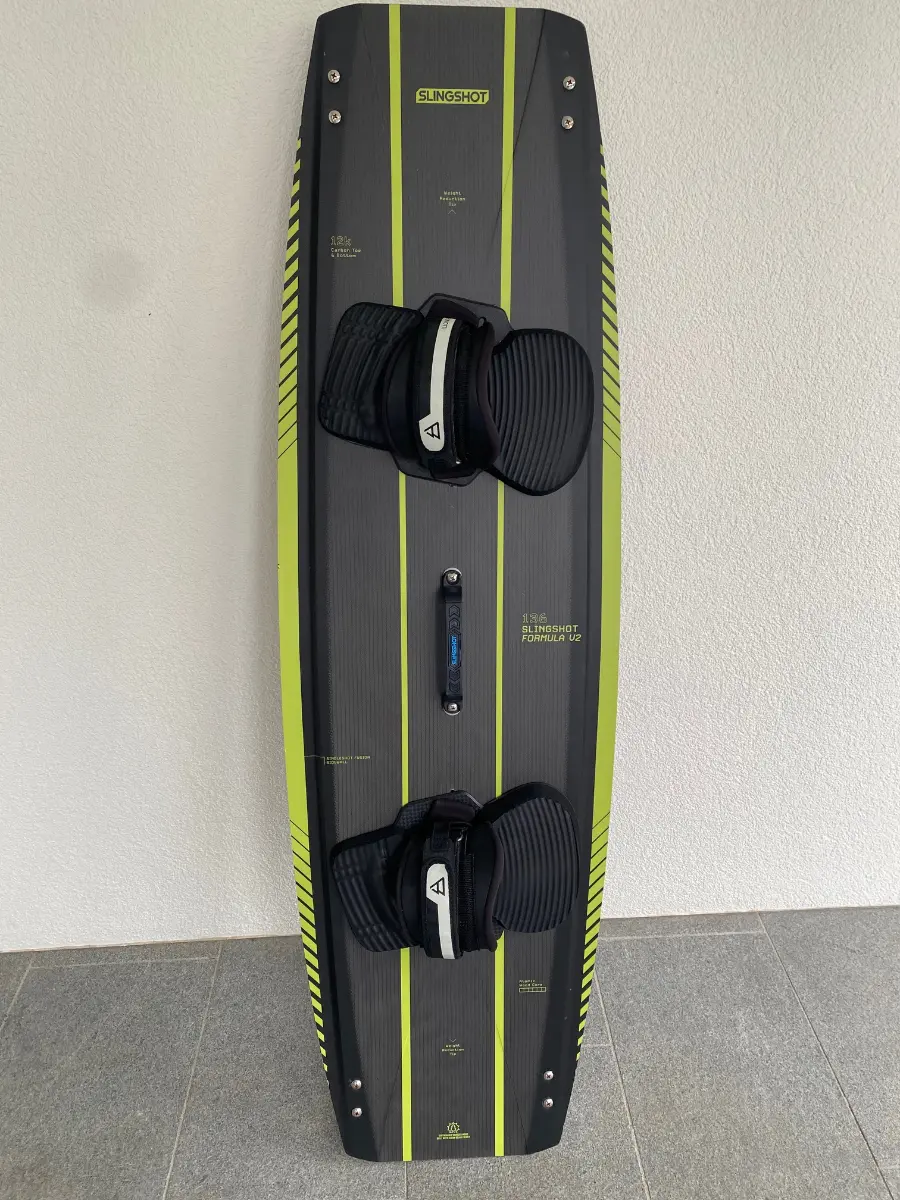
SLINGSHOT FORMULA V2 136cm x 41cm
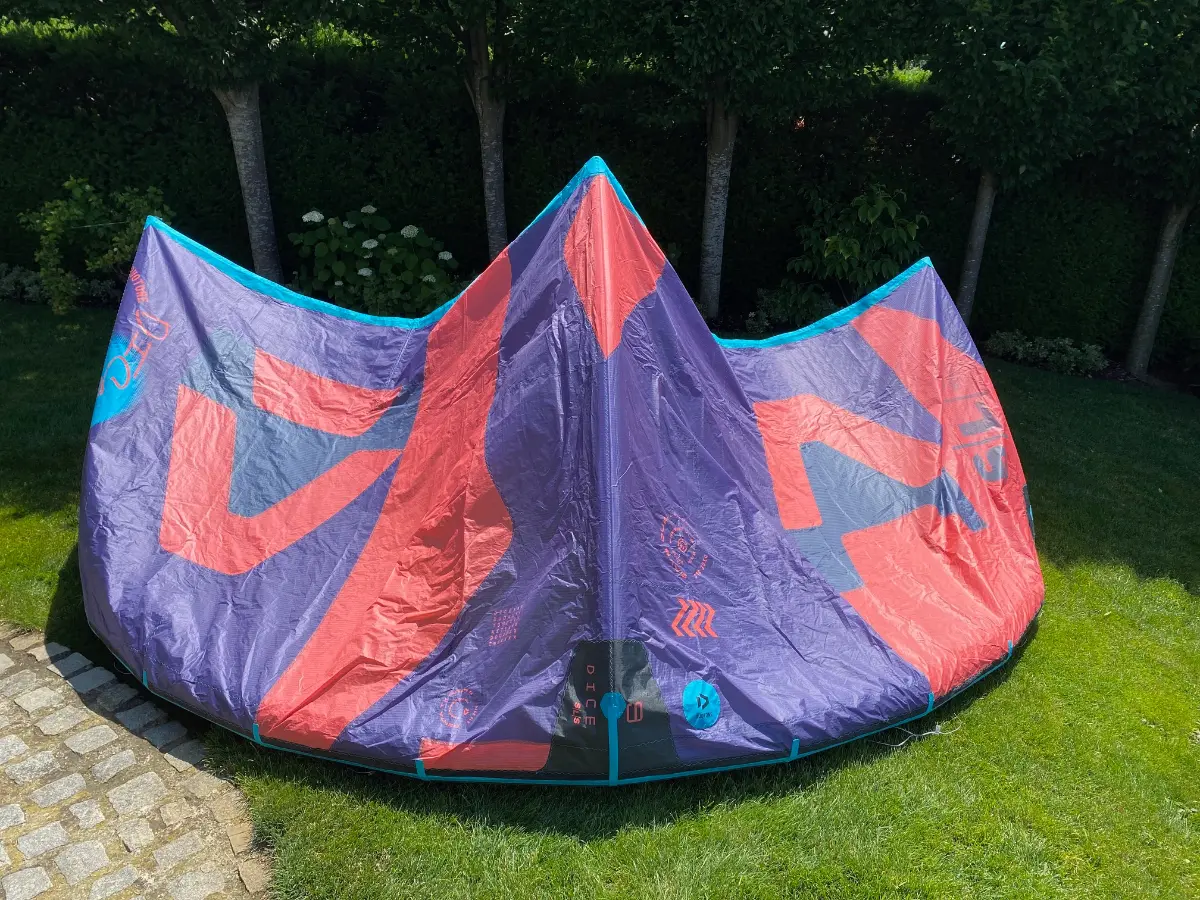
KITE DUOTONE DICE SLS 9M2 2023
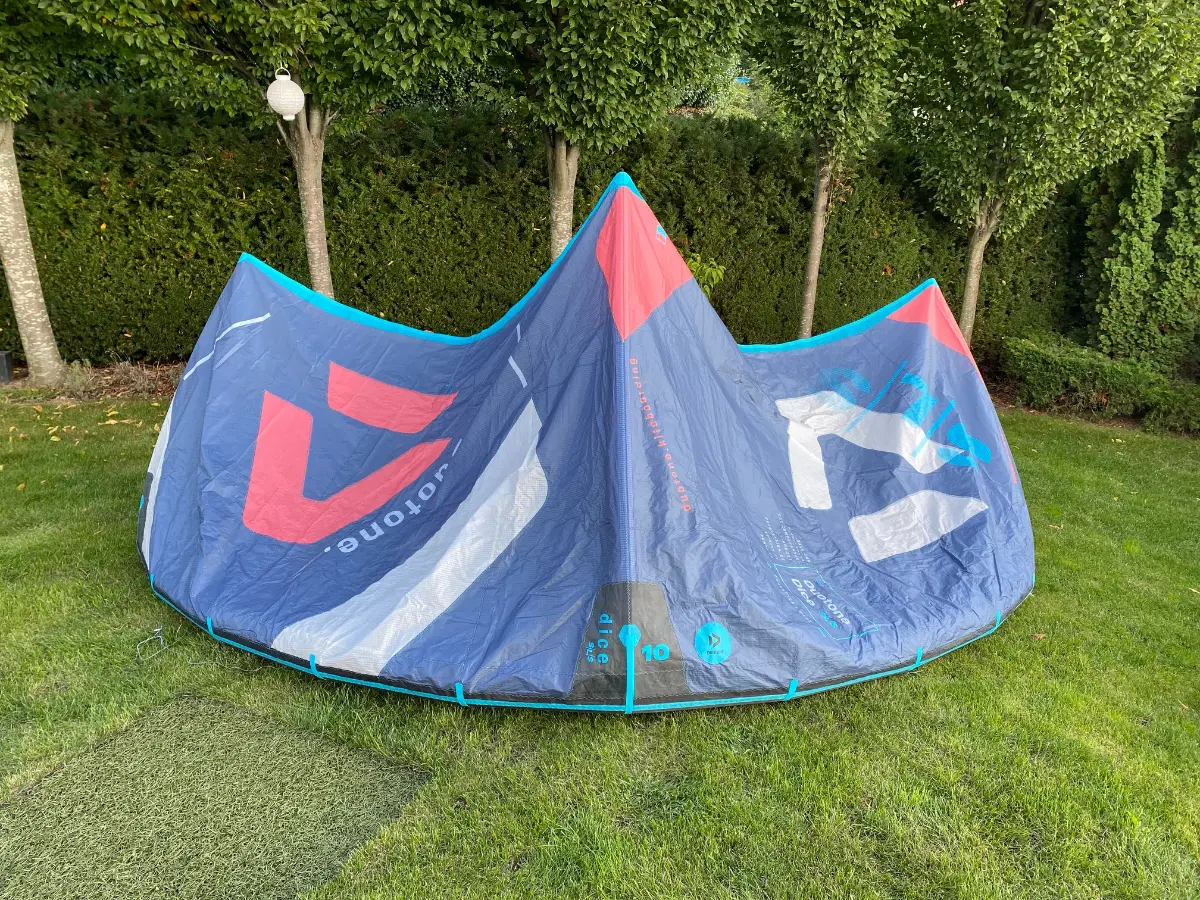
KITE DUOTONE DICE SLS 10M2 (2022)
Slingshot Code NXT V1 10,9,7
Frequently asked questions about buying used gear
Yes, if the kite is still safe and the right size. Beginners outgrow gear quickly and often sell it on within a year — with used gear that step costs far less. More important than the model year is that the kite has a working safety system and that the size matches your weight and your local wind, rather than whatever happened to be cheap.
Hold the canopy up to the light — small pinholes show immediately. Check the seams on the leading edge, the strut ends and the valves. Then inflate the kite and leave it for 20–30 minutes: a slow leak shows up here. Ask for the model year, how many seasons it has been used and whether it has ever been repaired.
This is the most overlooked part. Lines stretch, and because they stretch unevenly the kite starts pulling to one side. Check the line ends, the depower travel and above all the quick release — it must fire smoothly. A new line set is cheap and is often money well spent right after buying a used bar.
Board: the rails along their whole length (rock damage shows there), delamination (tap it — a hollow sound is a bad sign) and the insert threads for the pads. Harness: the closure, the spreader bar and wear on the fabric where it bends. Wetsuit: the zip, the seams under the arms and the stretch of the neoprene — a suit that has gone stiff no longer keeps you warm.
Ask for extra photos of the valves, seams and worn areas, plus a clip of the kite still inflated after half an hour. A video call tells you more than ten photos. For expensive gear, collecting it in person almost always pays off.
No results for your search.